Access Control: Teams and Roles
This document shows how Organization Admins may manage access control in an Organization by using Teams and Roles.
Summary of Roles
| Role Type | Role | Access Level |
|---|---|---|
| Team | n/a | A group of users; grants a specific Project Role in each Project |
| Organization Role | Member | Basic access to the Organization |
| Organization Role | Admin | Full access to everything (including Project Manager-level access to all Projects) |
| Project Role | No Role | Team membership grants no access to a Project (users may still have access due to membership of a different Team) |
| Project Role | Reader | Team membership grants read access to a Project |
| Project Role | Member | Team membership grants write access to a Project, but not for OTA |
| Project Role | Manager | Team membership grants write access to a Project, including OTA |
Teams
Teams are a flexible way to manage access to Projects for members of an Organization. By using Teams, Organization Admins can control which users should be able to:
- see a Project at all,
- make changes to (among others) charts, devices, or issues, or
- perform OTA-related actions that may impact an entire fleet.
To get started using Teams, find the Admin → Teams view for your Organization. Note that only Organization Admins have access to this view.
Managing Team Members
To manage Team members, click on a Team in the Admin → Teams view, and select the Members tab. Then, find the Add members button:
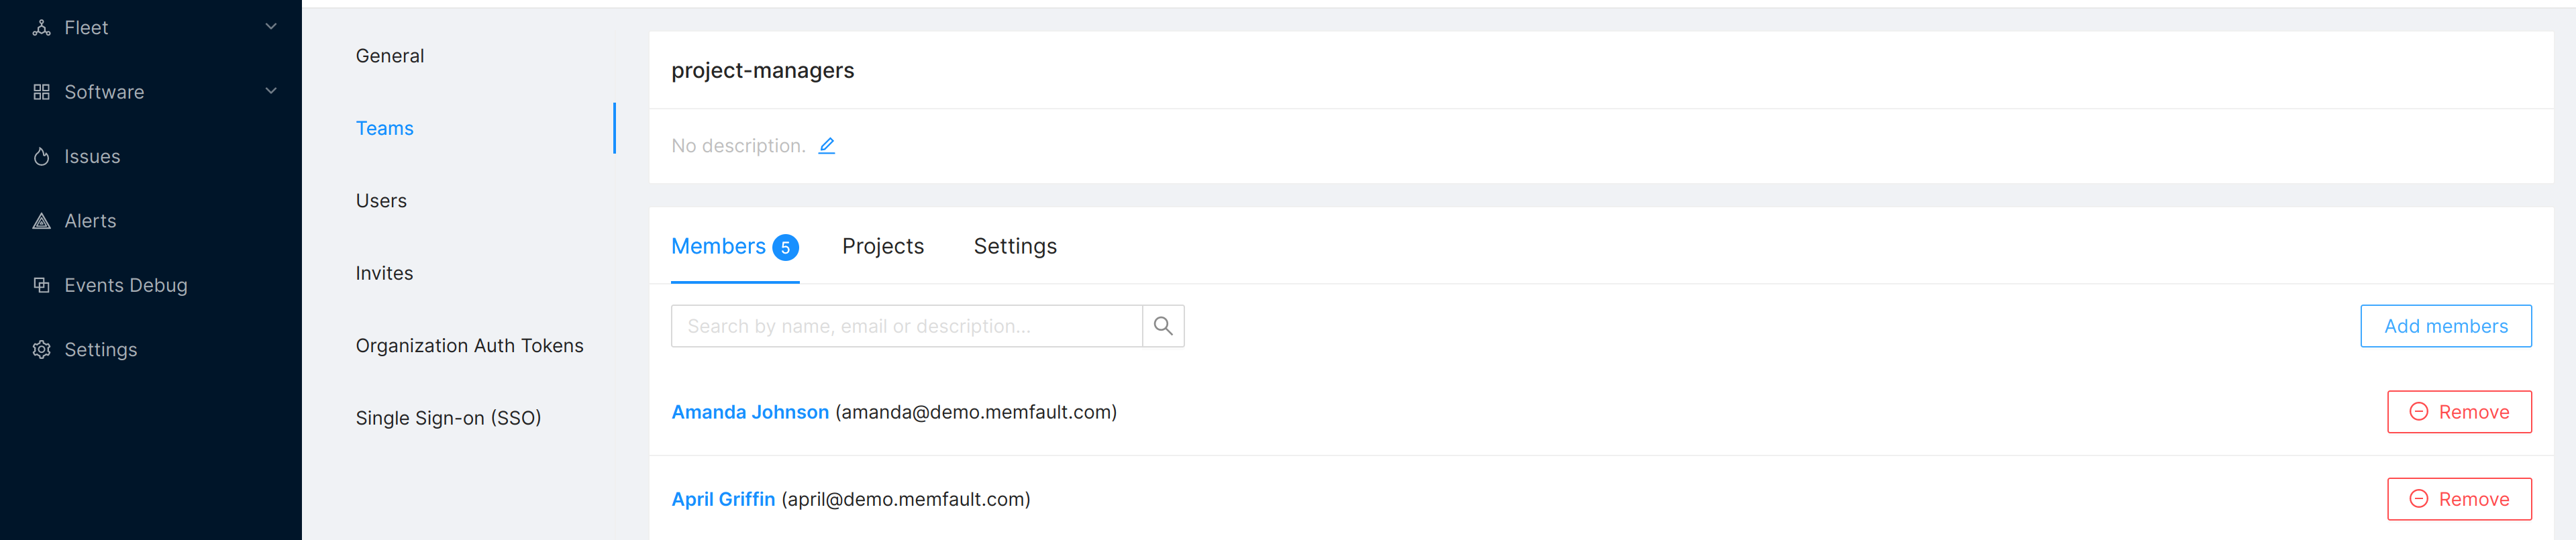
Then, simply use the "add" and "remove" buttons:

Managing Project Access Within a Team
A team adds a role to its members in a given Project.
A user may be a member of multiple Teams, so they could receive a different role
in each Project, or multiple roles per Project. In this case, the roles don't
compete: they behave additively (most-permissive role takes precedence; for
example, if one Team has Member level access, and one Team has Reader
access, the user will have Member access).
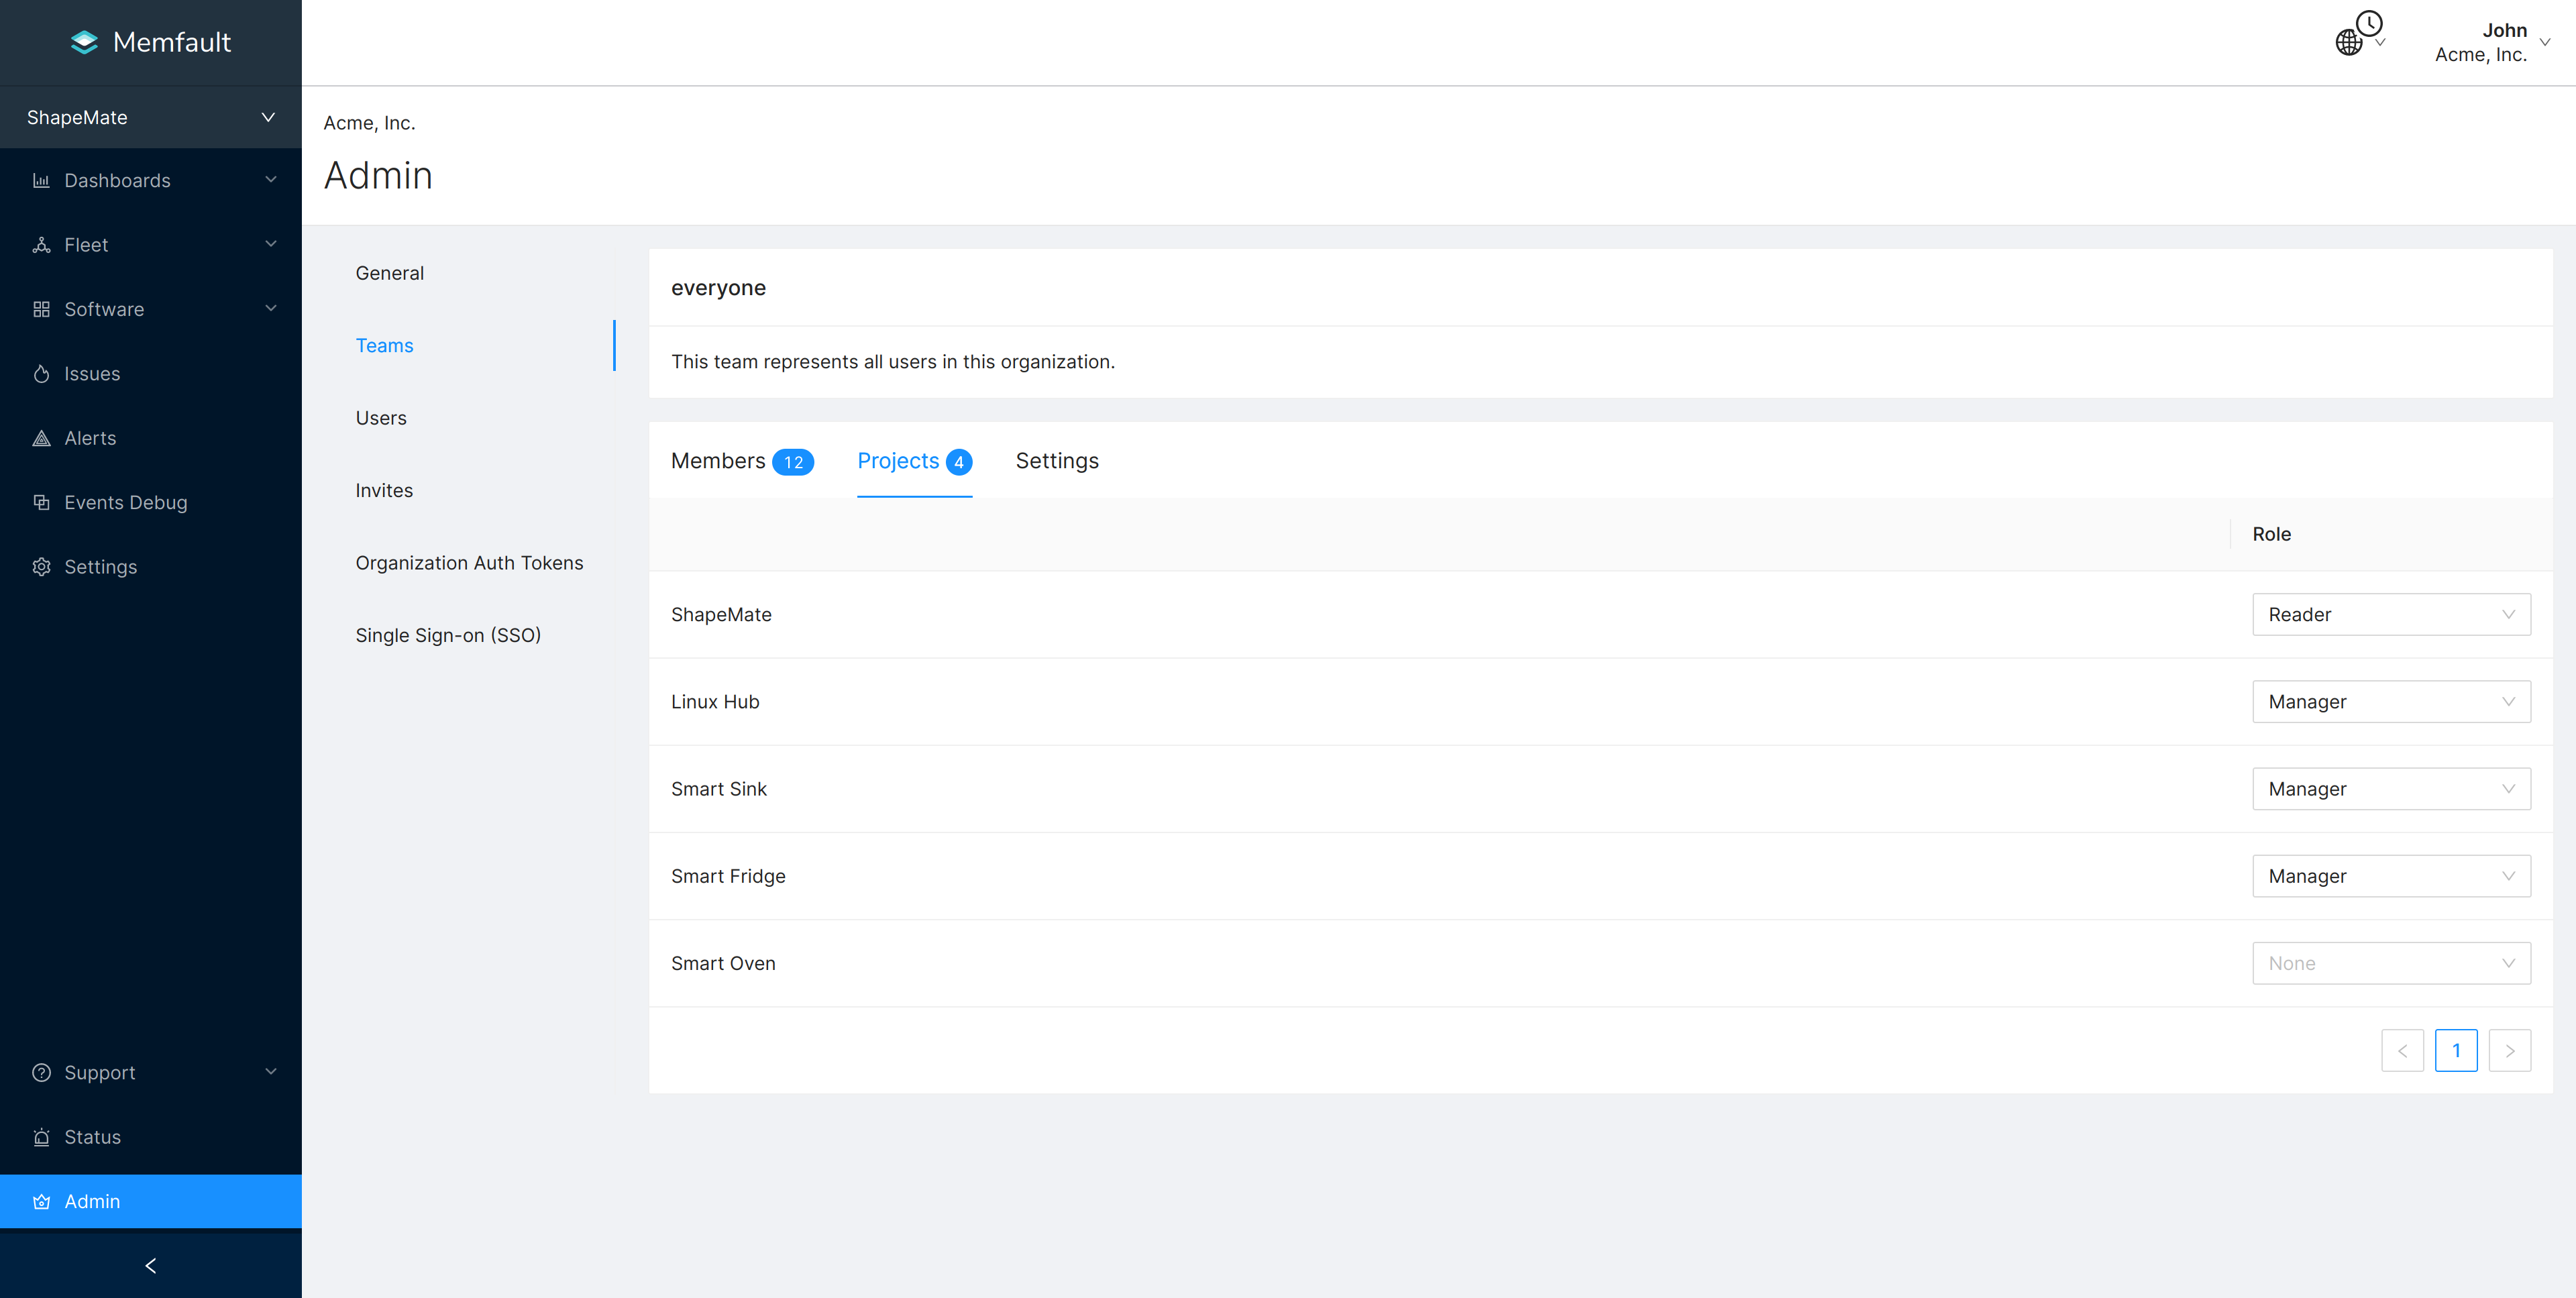
The following screenshot shows a Team and the roles it adds to its members in each Project. To find this view, click on a Team in the Admin → Teams view, and select the Projects tab. Then, select a role for each Project:
Revoking Access to a Project
By selecting None as a role in a given Project, a Team will no longer grant
access to that Project. As long as the members of this Team do not have access
to the Project through other means (for example, by also being members of
another Team that does grant access to it) they will not be able to see the
Project anywhere, including the Project selection menu at the top-left of the
Memfault Web App.
Team Settings
To manage Team settings, click on a Team in the Admin → Teams view, and select the Settings tab. In this view, you'll find the following settings:
- Automatically add new users to this Team: when inviting new users to the Organization, automatically add them to this Team. Enabling this will not immediately invite everyone in the Organization to this Team. See Managing Team members.
- Automatically grant a role to this Team for new Projects: when creating a new Project, grant this Team a specific role, or "none" if you're planning to grant access manually later.
Organization Roles
Organization Roles represent the access level of a user within an Organization, and apply to all Projects. See User Management to learn how Organization Roles can be assigned to users as an Organization Admin.
Organization Member
The Organization Member role is the default for newly-invited users, and represents basic access to an Organization. To manage access within Projects, see Project Roles.
Organization Admin
Organization Admins can:
- access the Admin panel for the Organization,
- update the Organization Role of other users,
- invite new users to the Organization,
- remove users from the Organization,
- create new Projects for the Organization,
- create new Organization Auth Tokens, and
- delete existing Organization Auth Tokens.
Implicitly, Organization Admins also have all the privileges of Project Managers for every Project in the Organization.
Project Roles
Project Roles represent the access level of a user within a Project. See Managing Project Access Within a Team to learn how to use them.
No Role
Selecting "None" as a role will result in a Team not granting access to a Project. See Revoking Access to a Project.
Reader
Readers have read-only access to a Project, with one exception: they may use the commenting features on Issues. Additionally, Readers don't have direct access to raw files uploaded by devices or manually uploaded into the application. This means:
- They can't use the Download button found in certain types of Traces in the Issue view.
- On MCU, they can't see the Analyzer view or Globals & Statics, because they provide a detailed view into the Trace.
Member
Members can perform most of the day-to-day actions within a Project, including creating charts, managing Issues, creating Alerts and accessing files otherwise inaccessible by Readers.
Manager
Managers have additional privileges on top of those of Members. At a high level, these privileges relate to the ability to manage a fleet using Over-the-Air Updates (OTA). Particularly, they can:
- manage Releases and activate them,
- regenerate Project Keys,
- manage Cohorts and configure them, and
- manage Software Types and Software Versions.
The everyone Team
The everyone Team is created and maintained automatically by default for an
Organization. There are some special rules about it:
- It invariably contains everyone in the Organization. That means you cannot add or remove members manually.
- Its "Automatically add new users to this team" Team setting is always enabled, and it cannot be changed.
However, you can modify the setting "When creating a new project, grant the following role to this team". For example, you may want to set it to "none" in order to manually control access to newly-created Projects.
To find your Organization's everyone Team, go to Admin →
Teams and click on everyone, or use this direct
link.
Organization Auth Tokens
Organization Auth Tokens can be used for automation and have the same privileges as Project Managers for every Project in the Organization, but do not have the additional privileges of Organization Admins. The access level of an Organization Auth Token cannot be changed.
Read more about creating Organization Auth Tokens.
Configuration Examples
The goal of these examples is to provide some recipes of configurations that your Organization may want to use as a starting point for further customization.
Separate Manager and Reader Teams
In this set-up, newly-invited users get Manager access to all Projects, but there's a separate Reader Team consisting of some existing users that should have constrained access. These users will only receive read-only access to a smaller number of Projects.
- Open your
everyoneTeam- in the Projects tab, select "None" for every Project
- in the Settings tab, set "Automatically grant this role to this Team for new Projects" to "None" so that future Projects are not automatically visible to everyone in the Organization (see documentation on Team Settings)
- Create a Team called
managers- open the
managersTeam - in the Members tab, add any new members you need
- in the Projects tab, select the "Manager" role for all your Projects
- optionally, configure this team to automatically add new users, and to automatically grant its members a role when you create a new Project (see documentation on Team Settings)
- open the
- Create a Team called
readers- open the
readersTeam and select the Projects tab - select the Reader role for the Projects you need
- in the Members tab, add anyone who should be in the
readersTeam - in the Settings tab, set "Automatically grant this role to this Team for new Projects" to "None" or "Reader" in order to constrain access to future Projects for this Team (see documentation on Team Settings)
- open the
Remember that when you invite a new user to the Organization, they will
automatically be added to your managers Team, so you'll need to move them to
the readers team if that's what you need. Alternatively, configure readers
(instead of managers) to automatically add new users.
Stealth-mode Project
You can create a Project that's only visible to distinguished users within your Organization:
- Open your
everyoneTeam- in the Settings tab, set "Automatically grant this role to this Team for new Projects" to "None" so that the newly-created Project is only visible to Organization Admins (see documentation on Team Settings)
- Create your new Project, let's call it
secret-projectfor the sake of this example - Create a Team called
managers-secret-project- in the Projects tab, select the Manager role for
secret-project - in the Members tab, add the users who should become members of this Team,
which will give them access to
secret-project
- in the Projects tab, select the Manager role for
You may want to set the "Automatically grant this role to this Team for new
Projects" setting on the everyone Team back to your preferred option.
Note that Organization Admins will be able to see
secret-project regardless of which Teams they're members of.